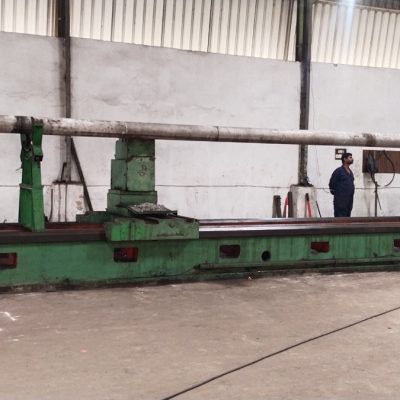
AGITATOR SHAFT REPAIR

Repairing an agitator shaft requires careful attention to detail and adherence to proper procedures to ensure the equipment operates safely and efficiently. Here’s a general guide for repairing an agitator shaft:
Assessment: Begin by assessing the extent of the damage to the agitator shaft. Inspect for cracks, bends, or any signs of wear and tear. Determine if the damage is localized or if it extends to other components.
Safety Precautions: Before proceeding with any repairs, ensure that the agitator and surrounding machinery are properly shut down and isolated. Follow all safety protocols and wear appropriate personal protective equipment (PPE) such as gloves, safety goggles, and hearing protection.
Disassembly: Disassemble the agitator assembly carefully, following manufacturer guidelines or standard procedures. Keep track of all components and their placement to facilitate reassembly later.
Cleaning: Thoroughly clean all components of the agitator shaft assembly, including the shaft itself, bearings, seals, and any other associated parts. Remove any debris, rust, or old lubricants using appropriate cleaning agents and tools.
Inspection: Inspect each component closely for signs of damage or wear. Pay special attention to the shaft for cracks, bends, or signs of fatigue. Check bearings for smooth operation and replace them if necessary.
Repair or Replacement: Depending on the severity of the damage, determine whether the agitator shaft can be repaired or if it needs to be replaced. Minor damage such as surface imperfections may be repairable through welding or machining, while extensive damage may require replacement of the entire shaft.
Machining: If repairing the shaft, use precision machining techniques to restore its dimensions and surface finish. Ensure that the repaired area is smooth and free of any defects that could compromise performance or safety.
Assembly: Reassemble the agitator shaft assembly, following the reverse order of disassembly. Use appropriate torque settings and lubricants as specified by the manufacturer.
Testing: Once reassembled, test the agitator shaft for proper operation. Check for smooth rotation, alignment, and any unusual noises or vibrations. Make any necessary adjustments to ensure optimal performance.
Maintenance: Implement a regular maintenance schedule for the agitator shaft and associated components to prevent future issues. This may include lubrication, inspection, and replacement of wear parts as needed.
Documentation: Keep detailed records of the repair process, including any replacement parts used, maintenance performed, and testing results. This documentation can be valuable for future reference and troubleshooting.
